本次搭建基于Python3.5 和 flask 进行搭建。
搭建结果要求:
1.网站根目录指向 /data/www
2.网站 / 下的文件对应/data/www
3.请求网站 / 下的html文件对应/data/www/index.py,交由Python解析处理
4.Python-Web支持Mysql数据库
首先,安装必要的软件包。
| #apt install nginx-extras python3-pip uwsgi uwsgi-plugin-python3 mysql-server -y |
此命令将安装 nginx 、pip3、uwsgi、mysql软件包,其中nginx软件用于提供WebServer功能;uwsgi用于架起nginx和后端的桥梁,将请求转交给后端处理,uwsgi-plugin-python3则是uwsgi的一个插件,用于支持将收到的请求交由Python3进行处理;pip3用于向Python3.5添加必要的模块;mysql则提供数据库功能。
安装过程中会要求输入两次Mysql数据库的root用户密码,此账号是Mysql数据库的管理员账号。
[ ! ] 自Ubuntu 16.04起,推荐使用apt而不是apt-get,apt已经很好地整合了原先 apt-get 和 apt-cache 的功能,使用apt既可以搜索软件包也可以安装和卸载软件。
接下来修改nginx的配置文件
| #vi /etc/nginx/sites-available/default |
修改为如下
| # Default server configuration # server { listen 80 default_server; listen [::]:80 default_server;# SSL configuration # # listen 443 ssl default_server; # listen [::]:443 ssl default_server; # # Note: You should disable gzip for SSL traffic. # See: https://bugs.debian.org/773332 # # Read up on ssl_ciphers to ensure a secure configuration. # See: https://bugs.debian.org/765782 # # Self signed certs generated by the ssl-cert package # Don't use them in a production server! # # include snippets/snakeoil.conf; #将Web root目录指向/data/wwwroot /data/www; # Add index.php to the list if you are using PHP index index.html; server_name _; location / { # First attempt to serve request as file, then # as directory, then fall back to displaying a 404. try_files $uri $uri/ =404; } #收到以.html结尾的文件请求,将该请求转发到本地监听9090端口的应用程序 location ~ \.html$ { include uwsgi_params; uwsgi_pass 127.0.0.1:9090; } #处于安全考虑,拒绝向本服务器请求.py结尾的文件 location ~\.py$ { return 404; } |
完成修改后,重启nginx服务
| #service nginx restart |
[ ! ] 此处也可以不重启服务,使用 service nginx reload 来直接应用设置的变更
接下来设置uwsig
| #vi /etc/uwsgi/apps-available/default.xml |
向该文件写入如下内容
| <uwsgi> <autostart>true</autostart> <plugin>python</plugin> <socket>127.0.0.1:9090</socket> <pythonpath>/data/www</pythonpath> <module>index:app</module> <master/> </uwsgi> |
简单扼要的介绍下参数,plugin选项指定uwsgi在处理此应用的请求时,将请求交给什么后端处理,此处指定的是上面安装的uwsgi-plugin-python3插件,即交由python3处理;socket选项指定uwsgi监听哪个端口,此处应当和nginx设置中的 uwsgi_pass 127.0.0.1:9090; 选项对应;pythonpath用于给后端的python指定工作目录,一般设置到python Web脚本的所在目录;module指定收到Web请求后交由哪个Python脚本处理以及该脚本中的哪一个函数处理,其中index指交由index.py处理,app则是index.py中的flask主函数。
[ ! ] 配置也可以写成ini文件的形式,但是必须使用.ini作为文件或链接的后缀名
为了使设置生效,将其链接到 /etc/uwsgi/apps-enabled
| #ln -s /etc/uwsgi/apps-available/default.xml /etc/uwsgi/apps-enabled/default.xml |
为了使设置生效,重启uwsgi服务
| #service uwsgi restart |
[ ! ] 服务启动后,可以执行service uwsgi status来看看服务是否处于active (running)状态,如果不处于running状态则可能服务未能成功启动,此时应当坚持你的配置
接下来,为了使Python3.5支持Flask Web服务器应用和Mysql数据库,向Python3.5安装flask和pymysql模块
| #pip3 install flask pymysql |
至此,服务器就配置好了,我们在/data/www下建立index.py文件,然后写入如下内容:
| from flask import Flask import pymysql app = Flask(__name__) head='''\ <html> <title>Server is in ready.</title> <body> ''' back=''' </body> </html> ''' @app.route("/index.html") def root(): content="" return head+"Current at /"+back @app.route("/user.html") def user(): connect=pymysql.connect(host='localhost',port=3306,user='root',passwd='数据库root用户的密码',db='mysql',charset='utf8') sql=connect.cursor() sql.execute("select user,host from user") content="execute mysql : select * from mysql.user;<br/>" content=content+"<table border=\"1px\" cellspacing=\"0px\" cellpadding=\"-px\"><tr bgcolor=\"#AAA\" color=\"#FFF\"><td width=\"64px\" align=\"center\">User</td><td width=\"64px\" align=\"center\">Host</td>" for i in sql.fetchall(): content=content+"<tr>" for j in i: content=content+"<td>"+str(j)+"</td>" content=content+"</tr>" content=content+"</table>" return head+"Current at /user.html"+"<br/>"+content+back if __name__=="__main__": app.run() |
记得将文件中的数据库root用户密码改成你的密码。
解释一下,这个文件里面@app.route("/index.html")下面的程序段都是对应Web请求 Get /index.html 的,同理,@app.route("/user.html")下的程序段都是对应 Get /user.html 的,这个Web程序里面只设计了针对 index.html 和 user.html 的响应,因此请求其他html文件都会返回 404 Not found。
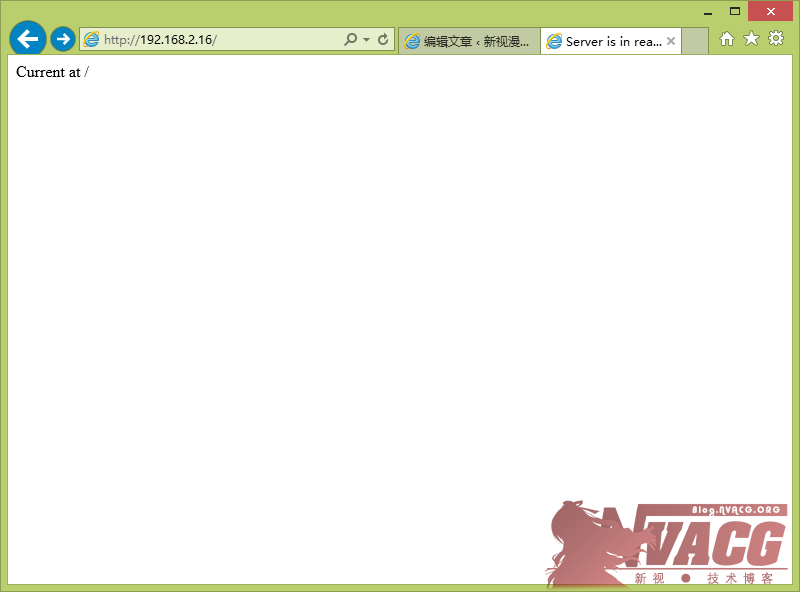
接着打开浏览器,访问下 http://服务器IP地址/index.html,如果能看到 Current at / 字样则表示服务工作正常。
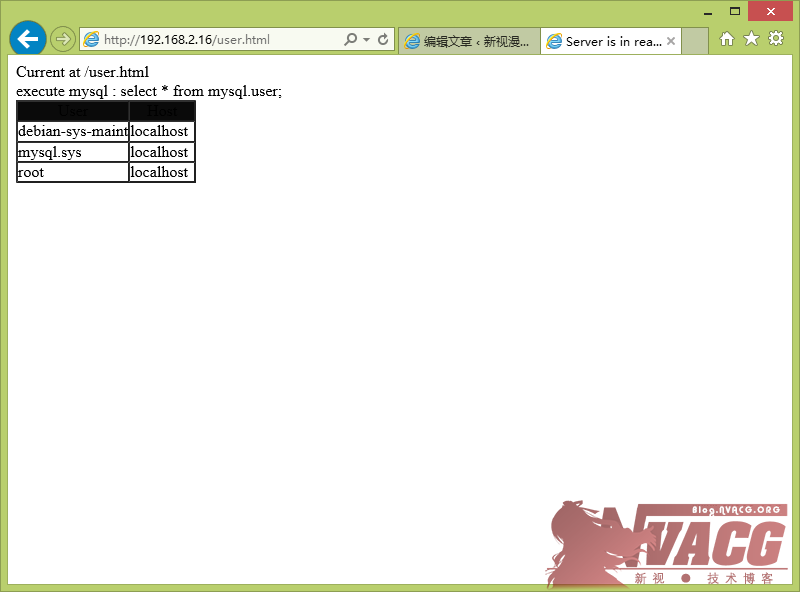
接着访问 http://服务器IP地址/user.html,如果能看到你的Mysql数据库中的用户则表示Python的Mysql模块工作正常
 请注意,本站的所有文章均要求阁下在转载时注明出处和原作者,阁下转载本站文章即表示阁下同意并遵守此规程,除非特别注明转载出处,否则文章即为其发布者所著。本站及文章作者保留文章的著作权并有权在阁下违反上述规程时予以追究。
lnc1995 says :
2017年6月1日大佬,刚在数码之家回复的就发现你的个人博客哈,来这边麻烦一下大佬给点人生经验哈。
你的luci-app-smartinfo,我在LEDE 17.01里面编译,界面出来了,但是启用不了,勾选启用保存应用之后勾就没了,我是照最简单的一个makefile改了一下
include $(TOPDIR)/rules.mk
LUCI_TITLE:=LuCI support for Smartinfo
LUCI_DEPENDS:=+smartmontools
LUCI_PKGARCH:=all
include ../../luci.mk
这是我的makefile内容,这样不知道是不是少了什么造成功能不正常呢?谢谢。
lnc1995 says :
2017年6月1日对了,我是压缩包applications目录下的luci-app-smartinfo文件夹放在feeds/luci/applications中编译的,不知道目录上有没有错
lnc1995 says :
2017年6月1日不麻烦了,已经解决了,是脚本的权限问题。谢谢